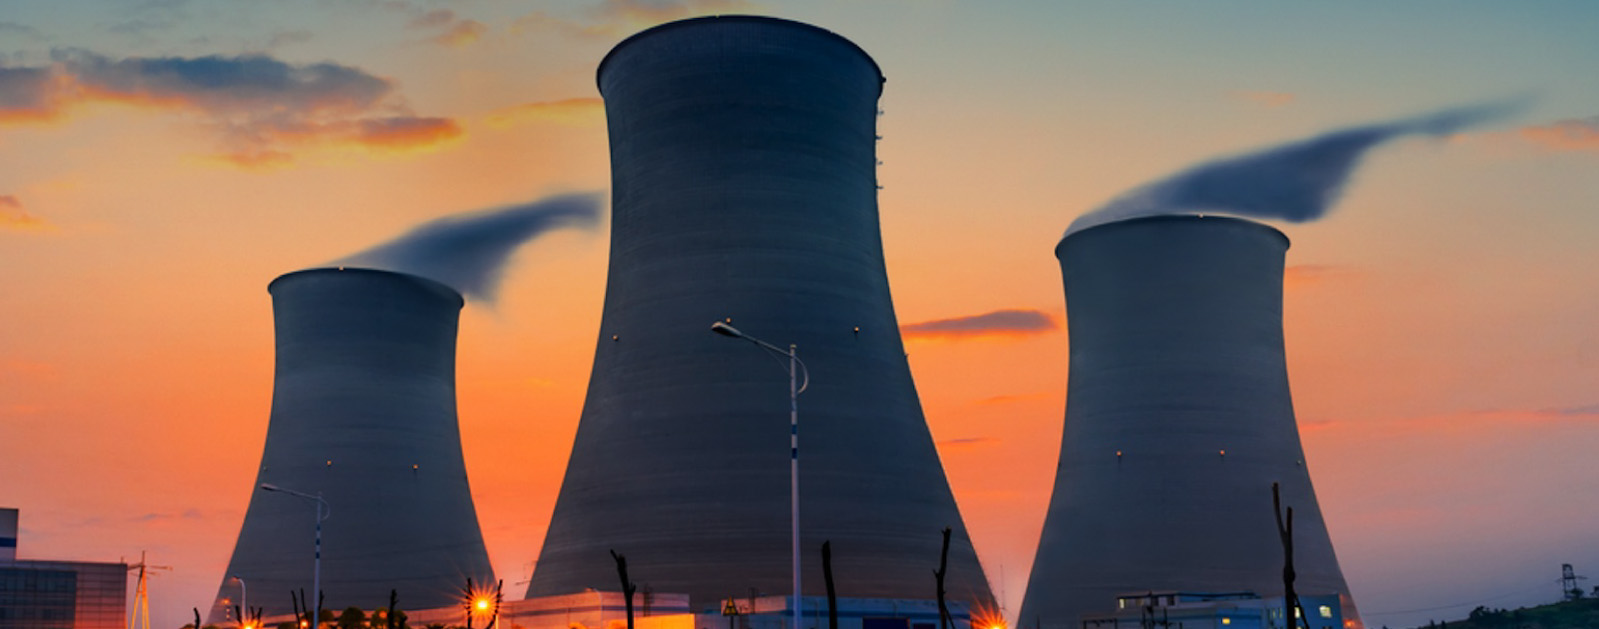
A coal-fired power plant in Wyoming was producing 2,110 megawatts of electricity per hour from four 500-foot-high generating units that serve more than a million people throughout the region. Because of its importance to the community, the plant could not afford the slightest setback in the installation of its new emission control system, which was required to comply with EPA regulations.
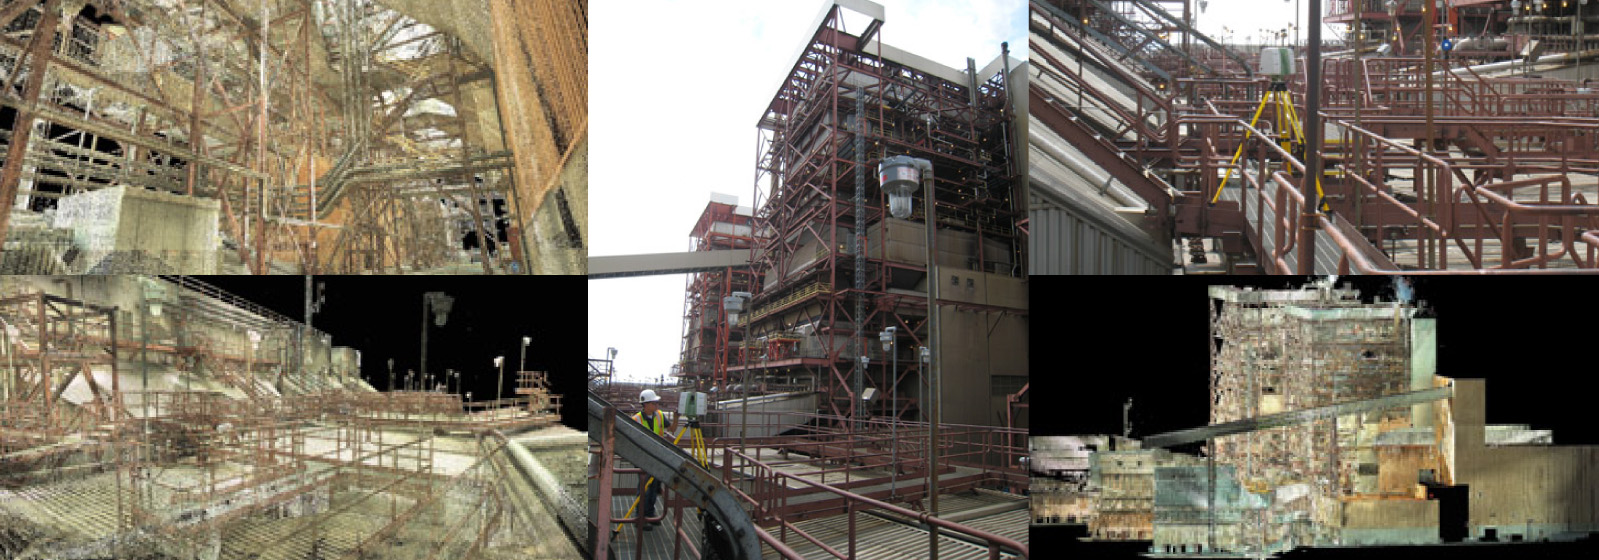
A gridlock of steel dominated the space, and many of the key features of the emissions system had to be located above the steel support structure in the power plant. Joseph Gidcumb, project manager at the engineering firm that was entrusted with the challenge, knew that conflicts with existing structures were likely. The plant’s as-is conditions would need to be captured with a high level of precision in order to pre-plan a flawless installation, fabricate the system, and ward off potential clashes with current structures. Measuring the installation area manually would be time consuming, and it would be virtually impossible to avoid inaccuracies that could expose the engineering team to a host of issues in the field.
Company
TruePoint Laser Scanning LLC
Location
Toledo, OH
To mitigate problems with equipment function, the team would have to leave a cushion in tolerances and be prepared to fix issues as they arose while installing the system. Those changes, however, could delay the installation and run up the tab by hundreds of thousands of dollars. To complicate matters, the engineering firm would have to rent lifts to access some of the higher locations. And this, of course, would have introduced safety concerns and prompted the need for additional Occupational Safety and Health Administration (OSHA) training.

Why Laser Scanning Was the Right Fit for the Job
Laser scanning was new to the engineering firm, so Gidcumb and his team needed reassurance that the data collected would be accurate and provide the necessary information.
“There’s just a ton of steel in the plant, and they basically had to thread the needle through a 150 foot high structure,” says Ryan Hacker, president of TruePoint Laser Scanning, who worked with the engineering firm on this project. “They were going to insert the new support structure down there. Besides using laser scanning, how else could they really know the installation was not going to clash with anything?”
Laser scanning was new to the engineering firm, so Gidcumb and his team needed reassurance that the data collected would be accurate and provide the necessary information. Because the virtual design group had not worked with point clouds before, they did not know what the data would look like, or exactly how they would use it. “Any engineering design firm gets pitched so many different new things and technologies that can do all this fabulous stuff,” says Hacker. “They’re understandably very skeptical about something they haven’t used before.”
Associates at TruePoint Laser Scanning were confident that the point clouds created through laser scanning would fit seamlessly into the engineering firm’s workflow and provide all the details they needed. In addition, laser scanning would save time and money. Based on TruePoint’s conviction that laser scanning was the best solution and that the data collection would cost less, Gidcumb and his company took a leap of faith and put laser scanning to the test.

From Scans and Point Clouds to Clash Detection
In just three days, two technicians completed the documentation, which included 48 scans.
The TruePoint Laser Scanning team used its Leica ScanStation C10 laser scanner for collecting data because its long-range capabilities, up to 300 meters, accommodated the height and distances required. In addition, they were confident the laser scanner would provide clean data and a smooth workflow. They set up targets that would stay in place as the technicians moved around the site, serving as landmarks for tying the final data to a coordinate system of the plant. Targets, which included an assortment of different types such as tripods, and magnetic bases that cling to railings or pipes, make it easier to register and stitch together the point cloud data into a comprehensive dataset. During the scanning process, technicians scanned each location, took photographs of the same scenes with the laser scanner, and also captured and labeled each of the targets.
In just three days, two technicians completed the documentation, which included 48 scans. Hacker estimates that completing the same assignment using traditional measuring devices would have taken six people about three weeks, with far less data captured in the process. He notes that the cost savings add up quickly when considering the salaries, airfares, hotel expenses, and meals for the additional time and number of people who would have been required.
TruePoint Laser Scanning imported the data into Leica Cyclone software, registered the point clouds, and provided the engineers with files in Autodesk format (PCGs) for use in their modeling software.
In addition, TruePoint gave the engineering firm Leica TruViews, dimensional photographs overlaid on top of the point cloud data, which can be viewed in Leica Geosystems’ free TruView panoramic viewer to provide a perspective view of the site. The Leica TruViews could be spun around to allow the engineers to look at the point clouds from different angles, giving them a better idea of how areas of the plant were related to each other than if they’d been looking at static pictures. They could also zoom in and out on specific plant features to gather data to answer detailed questions.
Since the engineering firm was based in a different state, Leica TruViews helped to familiarize them with the scan area and allowed them to return to the plant virtually as needed without traveling physically to the site. These virtual visits enabled them to provide a much faster turnaround on deliverables for the plant. In fact, within three days of receiving the point cloud data, the engineers had already found some major clashes. “We have discovered a few clashes with our structural steel which may not have ever been caught [otherwise],” says Gidcumb, “so I feel the service has already paid for itself.”
HIGH-VALUE DELIVERABLES
- PCG point cloud files
- Leica TruView 3D visualizations
BENEFITS
Increased Safety
All data captured from ground level with fewer people onsite
Fast Data Collection
3 days vs. 3 weeks
Comprehensive Data Capture
Complete and accurate as-is dataset can be reused for future projects
Better Project Visualization
Ability to see potential problems before they occur, from any location, enables better decision-making much earlier in the project
Reduced Downtime
Perfect-fit installation means no rework

